Table of Contents
Verify Your Facebook Ad Account – Complete Meta Business Tutorial
Verifying your Facebook ad account isn’t just a technical formality—it’s a key step toward ensuring credibility, transparency, and uninterrupted campaign delivery on Meta’s advertising platform. Whether you’re running ads for a brand, managing multiple clients as an agency, or promoting content that falls under Meta’s regulated categories (like social issues or politics), verification confirms that your business is legitimate and authorized to advertise.
Meta introduced ad account verification to reduce misuse and improve accountability across its ecosystem. Without it, you might face restrictions such as limited ad delivery, suspended campaigns, or blocked access to business assets.
In this comprehensive guide, you’ll learn exactly how to verify your Facebook ad account, understand the differences between verification types, troubleshoot common issues, and manage verified assets across your organization.
Understanding Facebook Ad Account Verification
According to Meta’s official documentation, verification ensures that advertisers represent real businesses or individuals. It’s part of Meta’s broader effort to build trust and transparency in digital advertising.
Why Meta Requires Verification
Verification is required for several reasons:
-
To confirm your business identity before running ads that relate to social issues, elections, or politics.
-
To ensure that ad spend and campaign activity come from authentic advertisers.
-
To unlock access to advanced ad tools, including Business Manager, Commerce Manager, and Aggregated Event Measurement.
Meta states: “We may require you to verify your business before you can advertise or use certain features.” This requirement can appear automatically based on your account’s activity, payment patterns, or policy triggers.
How Verification Affects Ad Delivery and Credibility
A verified account gains access to:
-
Faster ad approvals and reduced risk of suspension.
-
Increased credibility with clients and partners.
-
The ability to use verified domains and event tracking.
If your business remains unverified, your ads might be paused, rejected, or limited to specific audiences. For agencies, this can lead to delayed campaign launches and client dissatisfaction.
Requirements Before Verifying a Facebook Ad Account
Before initiating the verification process, make sure your setup meets Meta’s requirements. Having these elements ready will save time and reduce rejection risk.
-
Business Manager Setup:
You must have a Facebook Business Manager account. Verification cannot be completed from a personal profile. -
Admin Access:
Only users with admin-level permissions can start verification. If you’re part of an agency, request admin rights before proceeding. Properly managing Facebook ad account access is crucial; ensure you understand the different permission levels before assigning roles. -
Valid Business Documents:
Prepare your official registration documents such as a certificate of incorporation, business license, or tax registration number. The name must exactly match your Business Info. -
Secure Two-Factor Authentication (2FA):
Meta often requires 2FA on all admin accounts to ensure security. Enabling 2FA is your best defense against a Facebook Ads Account Hacked scenario, which can immediately halt your campaigns and compromise your data -
Verified Email Domain:
Ideally, your business email should match your domain (e.g., name@yourcompany.com). This improves credibility and speeds up the review process.
Set up your verified domain before starting business verification. You can follow our detailed guide on how to verify your domain on Facebook.
Step-by-Step: How to Verify Your Facebook Ad Account
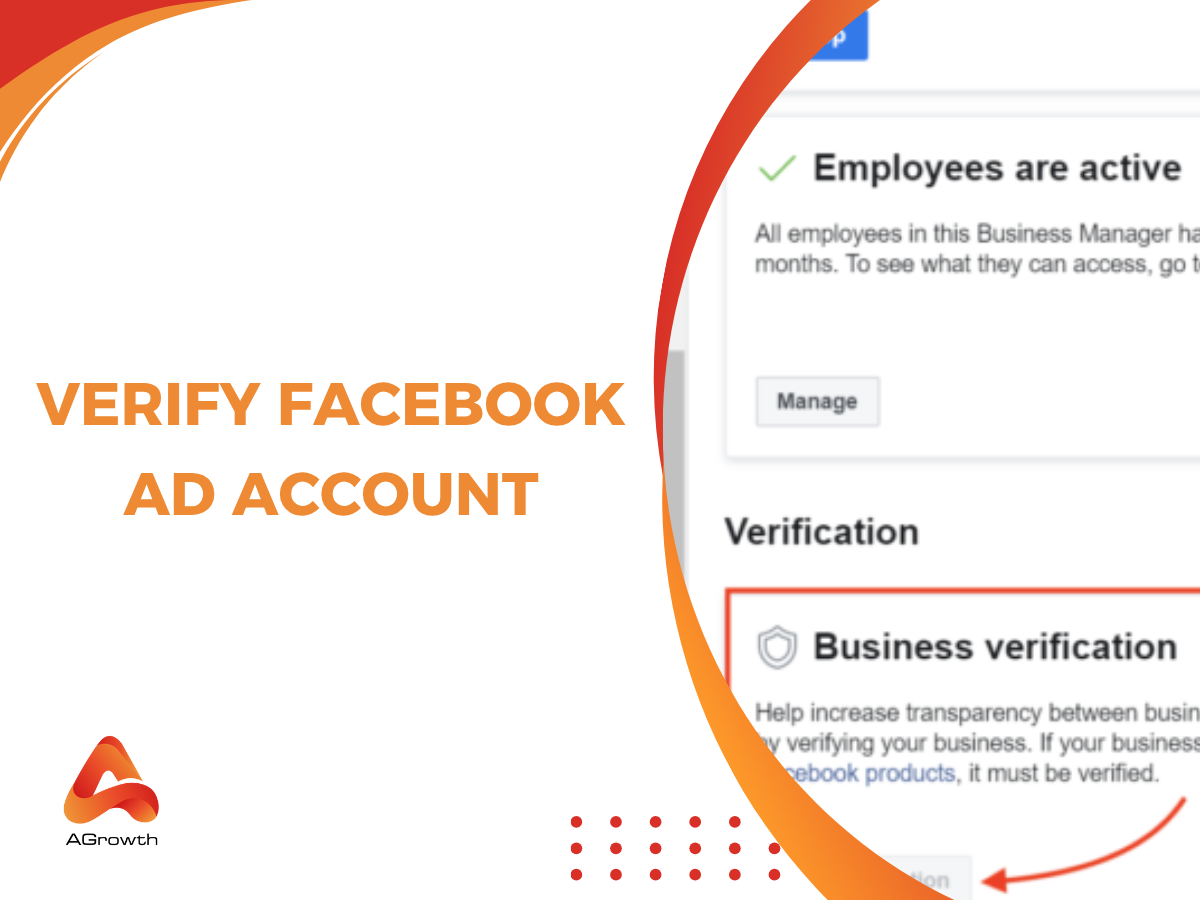
This is the core of the process. Facebook may request ad account verification automatically, or you can start it manually through Business Manager > Security Center.
Step 1: Access Business Verification
-
Go to Business Settings in your Business Manager.
-
Under Security Center, click Start Verification.
-
Select the business you want to verify (if you manage multiple accounts).

Step 2: Submit Business Details
Provide accurate business information:
-
Legal business name
-
Address
-
Phone number
-
Business website
Ensure that the details match your supporting documents exactly. Discrepancies are one of the most common causes of verification failure.

Step 3: Upload Verification Documents
According to Meta’s help article, accepted documents include:
-
Business license or tax registration
-
Certificate of incorporation
-
VAT registration document
Upload files in a clear, readable format (PDF or image). Avoid blurred or cropped images

Step 4: Verify Your Domain (If Required)
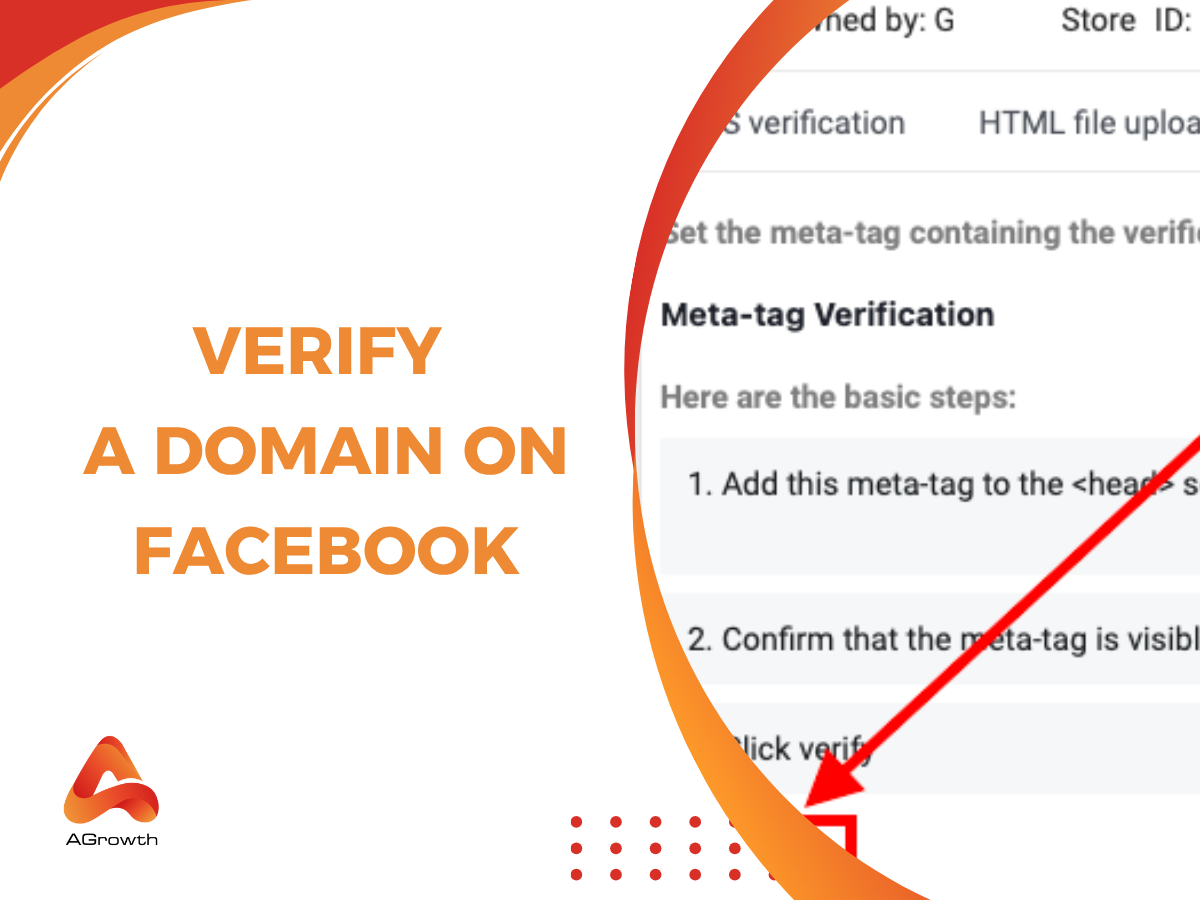
If your ad account is associated with a website, Meta may require you to verify your domain ownership. You can do this by:
-
Adding a DNS TXT record in your domain host settings.
-
Uploading an HTML file to your website’s root directory.
-
Adding a Meta tag to your homepage header.
Step 5: Wait for Review
Meta’s verification review usually takes 1–5 business days, depending on workload. During this period, avoid editing your Business Info or re-uploading documents unless requested.
How to Confirm Your Verification Was Successful
Once your documents are approved, you’ll receive a notification from Meta Business Manager. To confirm:
-
Go to Business Settings → Security Center.
-
Look for the Verification Status section.
-
A green checkmark labeled “Verified” means success.
You’ll also notice:
-
The verified business name displayed under Business Info.
-
Your ad account is now eligible for full campaign creation and Facebook payment setup.
-
Access to advanced tools like Aggregated Event Measurement (AEM) and Commerce Manager.
Additionally, in Events Manager, you can link your verified domain to prioritize pixel events for better conversion tracking accuracy.
Common Errors During Verification (and How to Fix Them)
Verification errors are common, especially for businesses with multiple entities or cross-border operations. Here are some of the most frequent issues and how to solve them:
1. Mismatch Between Business Name and Documents
Your business name in Business Manager must exactly match the name on your registration documents. Avoid abbreviations or variations (e.g., “ABC Ltd” ≠ “ABC Limited”).
2. Unsupported or Expired Documents
Check Meta’s list of accepted documents to ensure yours qualifies. Expired business licenses are automatically rejected.
3. “Verification Not Available” Message
If you see this, it means your account hasn’t been flagged for required verification yet. You may need to spend more or add assets (e.g., pages, ad accounts) before the option appears.
4. Multiple Business Managers Claiming the Same Domain
Each domain can only be verified once. If you share assets with partners, use Business Asset Sharing instead of trying to reverify.
5. Review Taking Too Long
Delays often occur when Meta requests manual review. Contact Meta Business Support through Help → Contact Support if it exceeds 7 business days.
While these tips focus on verification issues, you may face other challenges. Learn how to troubleshoot any general Facebook Ads Account Error you encounter!
Managing Facebook Verified Ad Accounts
Once verified, you can manage multiple accounts efficiently across teams or clients. This section provides tips that even most official guides don’t cover.
Add or Link Multiple Ad Accounts
You can add multiple ad accounts under the same verified Business Manager, which simplifies billing and access control.
-
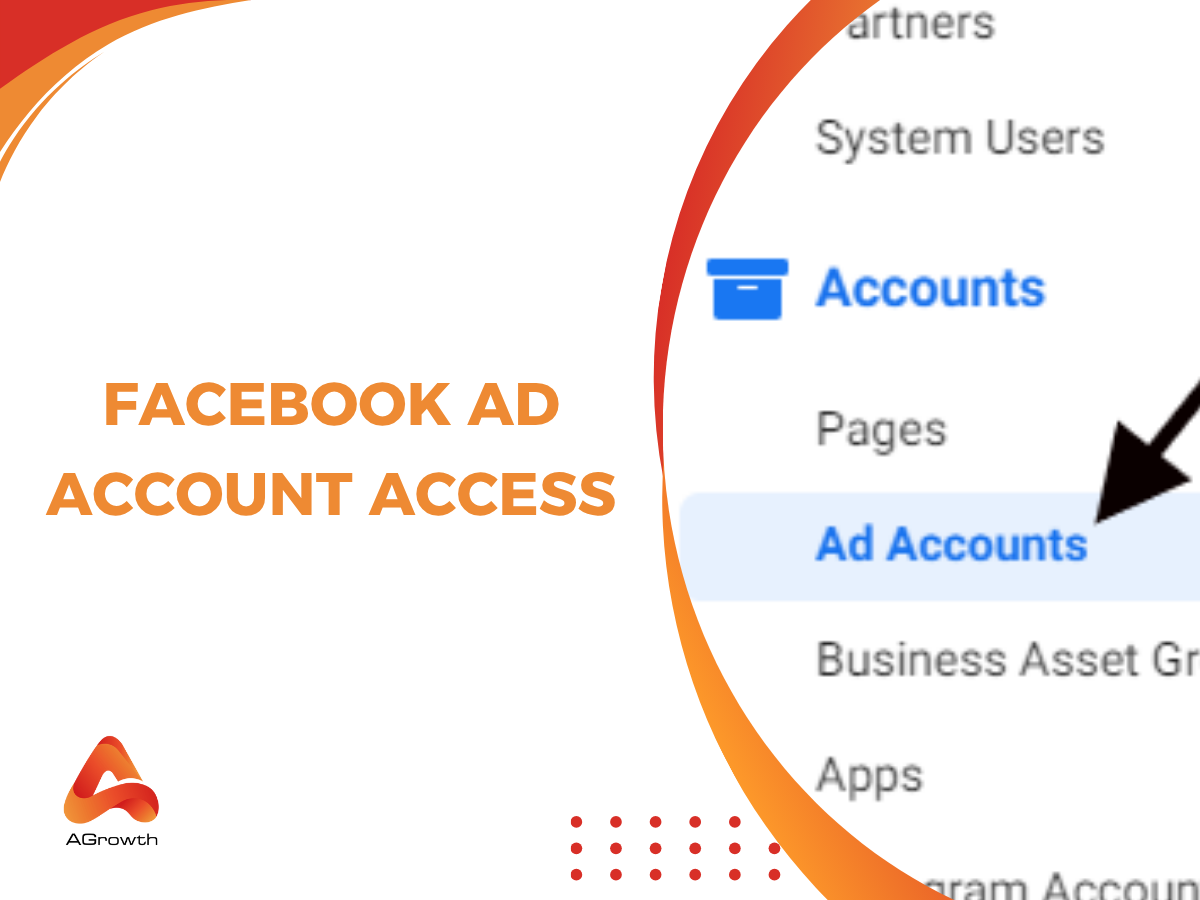
Go to Business Settings → Accounts → Ad Accounts.
-
Click Add → Create a new ad account or Request access.
-
Link it under your verified business for centralized management.
Share Access with Partner Agencies
If you collaborate with agencies or freelancers, use Business Asset Sharing to grant limited access to assets.
This prevents ownership conflicts and maintains compliance.
Transfer or Remove Verification
In some cases, you may need to transfer ownership of a verified account (e.g., when selling a business). Meta support can assist, but the process requires both parties’ consent.
Maintain Compliance
Always re-verify after major business changes—such as rebranding, new tax ID, or moving to another country. Unverified transitions can temporarily pause ads.
Best Practices & Pro Tips
Before wrapping up your Facebook Ad Account verification process, it’s worth optimizing how you approach and manage verified accounts. Proper verification is not only about compliance — it’s also about maximizing ad performance, minimizing disruptions, and strengthening your business credibility.
Keep Business Information Consistent Across All Meta Assets
One of the most common mistakes advertisers make is having mismatched details between their Business Manager, Ad Account, Page, and domain.
Meta’s verification systems automatically cross-reference these details, and any inconsistency — such as using different legal names, phone numbers, or addresses — can delay or even fail verification.
Pro tip: Always use the exact same business name and contact details in all fields. If your brand operates globally, use your registered business name rather than a localized version to ensure Meta’s automated verification tools recognize your organization.
👉 Related reading: check out our detailed guide on How to Verify Your Domain on Facebook to ensure full alignment between your domain and Business Manager.
Submit Official Business Documents — Not Marketing Collateral
Meta’s verification system is strict about what counts as a valid business document. Acceptable proofs include:
-
Business licenses
-
Certificates of incorporation
-
Tax registration certificates
-
Utility bills with your company’s name and address
Documents like invoices, pitch decks, or brand presentations won’t be accepted.
Pro tip: Ensure the document name, address, and registration number match exactly what appears in your Business Info section under Business Settings → Business Info → Legal Name.
Verify Before Scaling Ad Spend
Running ads on an unverified account might work initially, but as you scale spend, Facebook’s system is more likely to trigger verification or restriction reviews. This can pause campaigns abruptly.
Pro tip: Complete business verification before pushing high budgets or launching major seasonal campaigns. Verified accounts enjoy fewer interruptions, faster ad approvals, and improved trust in the ad auction system.
Strengthen Account Security and Ownership Control
Account verification goes hand-in-hand with security compliance. Enable two-factor authentication (2FA) for all admins and ensure only verified business emails are used to access your Ad Account.
Pro tip: Avoid adding third-party freelancers or media buyers as admins using personal emails. Instead, assign them Partner Access via Business Settings → Partners → Add. This keeps ownership with your verified entity — an essential safeguard if disputes arise.
Use Verified Ad Accounts to Unlock More Features
Verification can unlock access to advanced Meta tools and programs — including:
-
A higher ad spending threshold
-
Access to Meta Business Suite advanced analytics
-
Eligibility for Meta Business Partner programs
-
Priority review in case of policy appeals
This means verified advertisers can test advanced targeting and optimization features sooner than unverified ones.
Don’t Rely on One Verified Account
If you’re managing multiple brands or clients, verify each business separately under distinct Business Managers. Meta discourages using one verified entity to manage unrelated ad accounts, as it could trigger Meta account restrictions or compliance issues.
Pro tip: For agencies, applying for Meta Business Partner status can consolidate management without breaching policy. It’s also a trust signal to clients and Meta alike.
Respond Quickly to Meta Requests
Sometimes Meta may recheck verification data due to changes in company ownership, legal name, or account activity.
If you receive a “Verification Review Required” message, act immediately — delayed responses can cause ad delivery interruptions.
FAQs
What happens if I don’t verify my Facebook Ad Account?
Your ads may be restricted, paused, or rejected. Meta also limits access to advanced ad tools and prevents you from running regulated content until verification is complete.
How long does verification take?
Typically between 1–5 business days, though complex cases may take longer. Always monitor your email and Business Manager notifications.
Can I automate the verification process for multiple Facebook Ads accounts?
Not directly. Each Business Manager must be verified individually, though verified partners can manage multiple client ad accounts through the Meta Business Partner Program.
What should I do if my Facebook Ads account verification is rejected?
Check the rejection reason in your notification. Correct the document errors or mismatch, then resubmit. If unresolved, contact Meta Business Support with supporting evidence.
How to contact Meta support for verification help?
Go to Facebook Business Help Center, click Contact Support, and choose Business Verification as your issue. Support agents can review your submission directly.
Can I still run ads while verification is pending?
In most cases, yes — if Meta hasn’t made verification mandatory for your ad account. However, for restricted industries or when prompted directly, you’ll need to complete verification before ads can run. Always check your Account Quality dashboard to confirm whether restrictions apply.
If your dashboard shows no restrictions but your campaigns aren't delivering, you may need to troubleshoot other reasons why your Facebook ads not working.
Do I need to verify again if I change my business name or ownership?
Yes. Significant changes in legal name, ownership, or tax information require re-verification to ensure compliance with Meta’s advertising policies.
Failing to do so could trigger account review or ad delivery interruptions.
Related posts:


Your comment